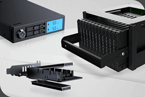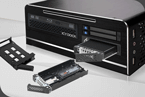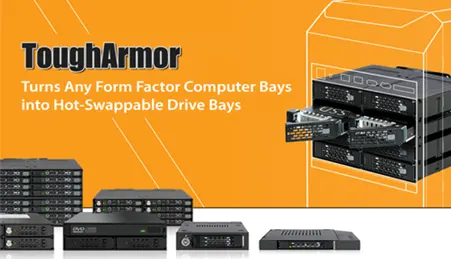
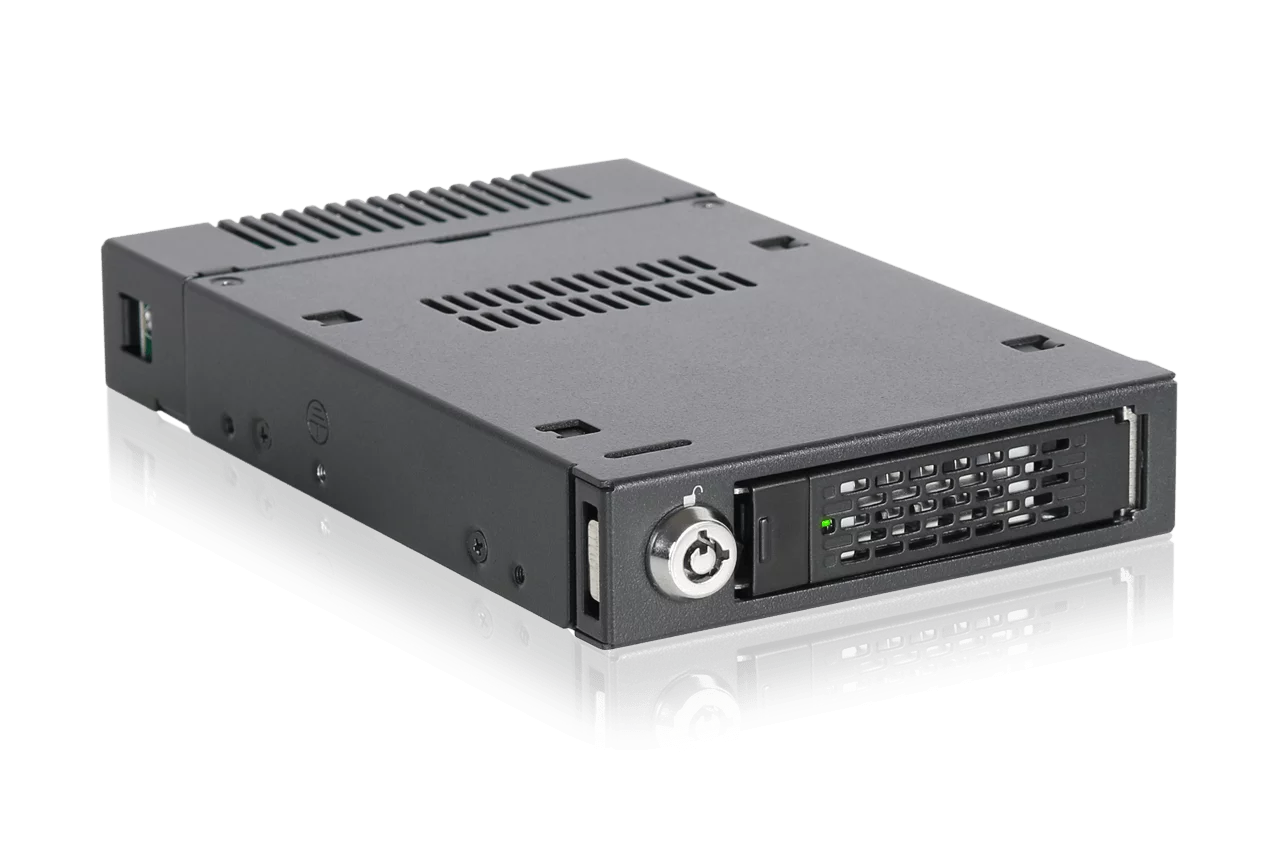

ToughArmor
Ruggedized Removable Drive Enclosures
| Optional Certifications Available for ToughArmor MB601M2K-1B | |
| TAA | Trade Agreements Act Compliance |
| UL | Safety Standard Certification |
| UL94 | Flammability of Plastic Materials |
| FCC | Federal Communications Commission Compliance |
| Wide Temperature | MIL-STD-810H - Method 501.7 & 502.7 |
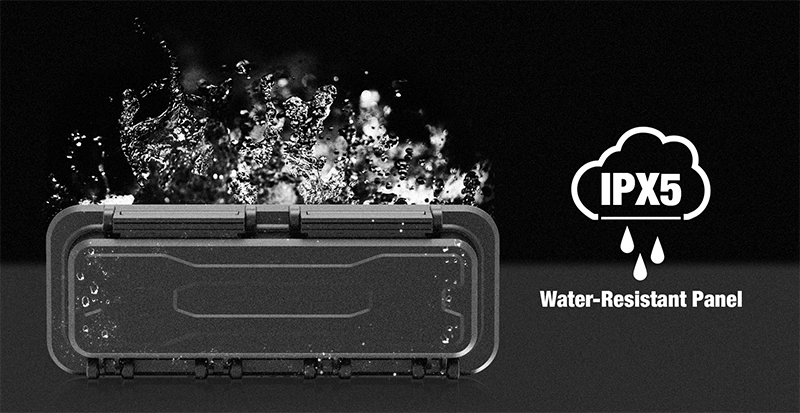
| *IEC 60529 (IPX6) | Protection against water jets |
| *Vibration Test | MIL-STD-810H, Method 514.8, Procedure I (Resistance to vibrations) |
| *Functional Shock | MIL-STD-810H, Method 516.8- Procedure I (Protection against shocks) |
| Series | Model Number | Product Description | Stock Status |
| ExpressCage | MB741SPW-B | 1 x 2.5" SAS/SATA HDD/SSD (15mm) Mobile Rack with Tool-less Installation & ToughCover | Build-to-order |
| MB742SPW-B | 2 x 2.5" SAS/SATA HDD/SSD (9.5mm) Mobile Rack with Tool-less Installation & ToughCover | Build-to-order | |
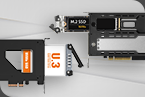
| ToughArmor | MB092V4KW-B | 2 x U.2/U.3 NVMe SSD (7mm) PCIe 4.0 Mobile Rack with ToughCover (2 x SFF-8654 4i) | Build-to-order |
| MB491SKL-1B | 1 x 2.5” SATA/SAS HDD/SSD (15mm) Mobile Rack with Dual-Lock Design & ToughCover | In-stock | |
| MB492SKW-B | 2 x 2.5” SATA/SAS HDD/SSD (15mm) Mobile Rack with Dual-Lock Design & ToughCover | Build-to-order | |
| MB601V4KW-B | 1 x U.2/U.3 NVMe SSD (15mm) PCIe 4.0 Mobile Rack with ToughCover (1 x SFF-8639) | Build-to-order | |
| MB601M4KW-1B | 1 x M.2 NVMe SSD (2280-22110) PCIe 4.0 Mobile Rack with ToughCover (1 x SFF-8639) | Build-to-order | |
| MB833M4KW-B | 1 x M.2 NVMe SSD (2280-22110) PCIe 4.0 Mobile Rack with ToughCover (1 x SFF-8643) | Build-to-order | |
| MB833M4KW-B V2 | 1 x M.2 NVMe SSD (2280-22110) PCIe 4.0 Mobile Rack with ToughCover (1 x SFF-8654 4i) | Build-to-order | |
| MB834M4KW-B | 2 x M.2 NVMe SSD (2280-22110) PCIe 4.0 Mobile Rack with ToughCover (2 x SFF-8643) | Build-to-order | |
| MB834M4KW-B V2 | 2 x M.2 NVMe SSD (2280-22110) PCIe 4.0 Mobile Rack with ToughCover (2 x SFF-8654 4i) | Build-to-order | |
| MB991IKW-B | 1 x 2.5" SAS/SATA HDD/SSD (15mm) Mobile Rack with ToughCover | Build-to-order | |
| MB991SKW-B | 1 x 2.5" SATA HDD/SSD (15mm) Mobile Rack with ToughCover | Build-to-order | |
| MB992SKW-B | 2 x 2.5” SATA/SAS HDD/SSD (15mm) Mobile Rack with ToughCover | Build-to-order | |
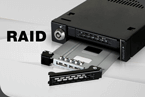
| MB992SKRW-B | 2 x 2.5” SATA HDD/SSD (9.5mm) RAID Mobile Rack with ToughCover (RAID 0/1/BIG/JBOD) | Build-to-order | |
| MB993SKW-B | 3 x 2.5” SAS/SATA HDD/SSD (7mm) Mobile Rack with ToughCover | Build-to-order |
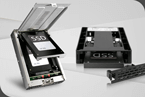
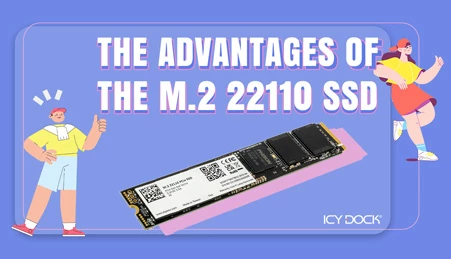
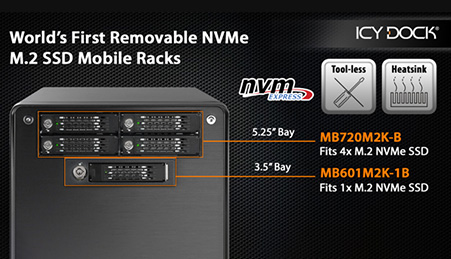
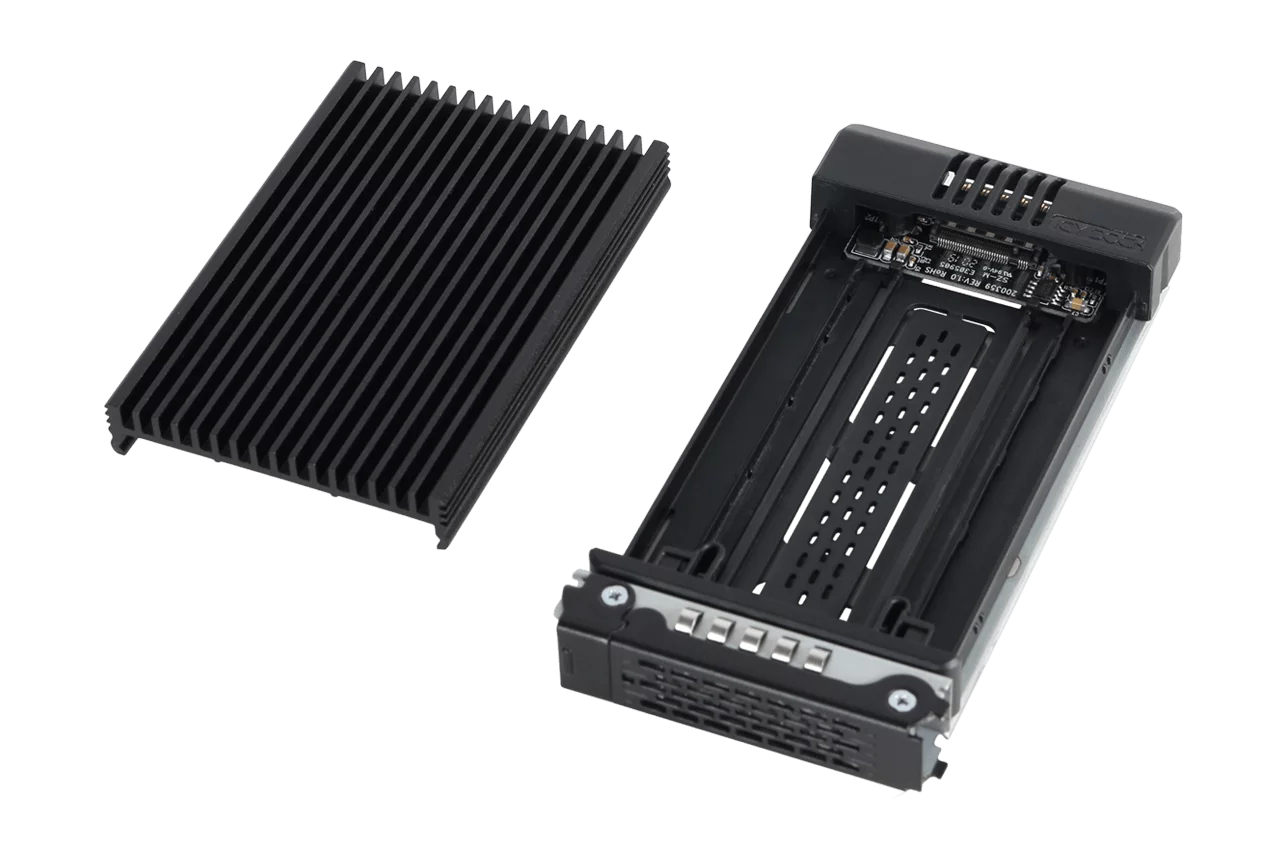
| • | Fits 1x M.2 NVMe SSD of all lengths, 30mm (2230), 42mm (2242), 60mm (2260), 80mm (2280), and 110mm (22110) |
| • | Adjustable drive locker holds all length drives securely |
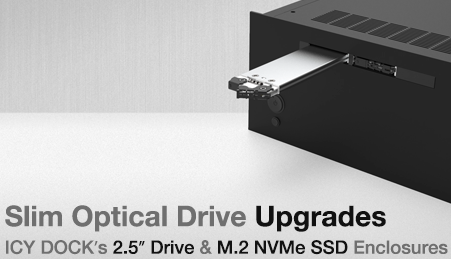
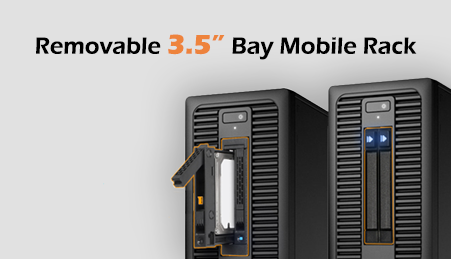
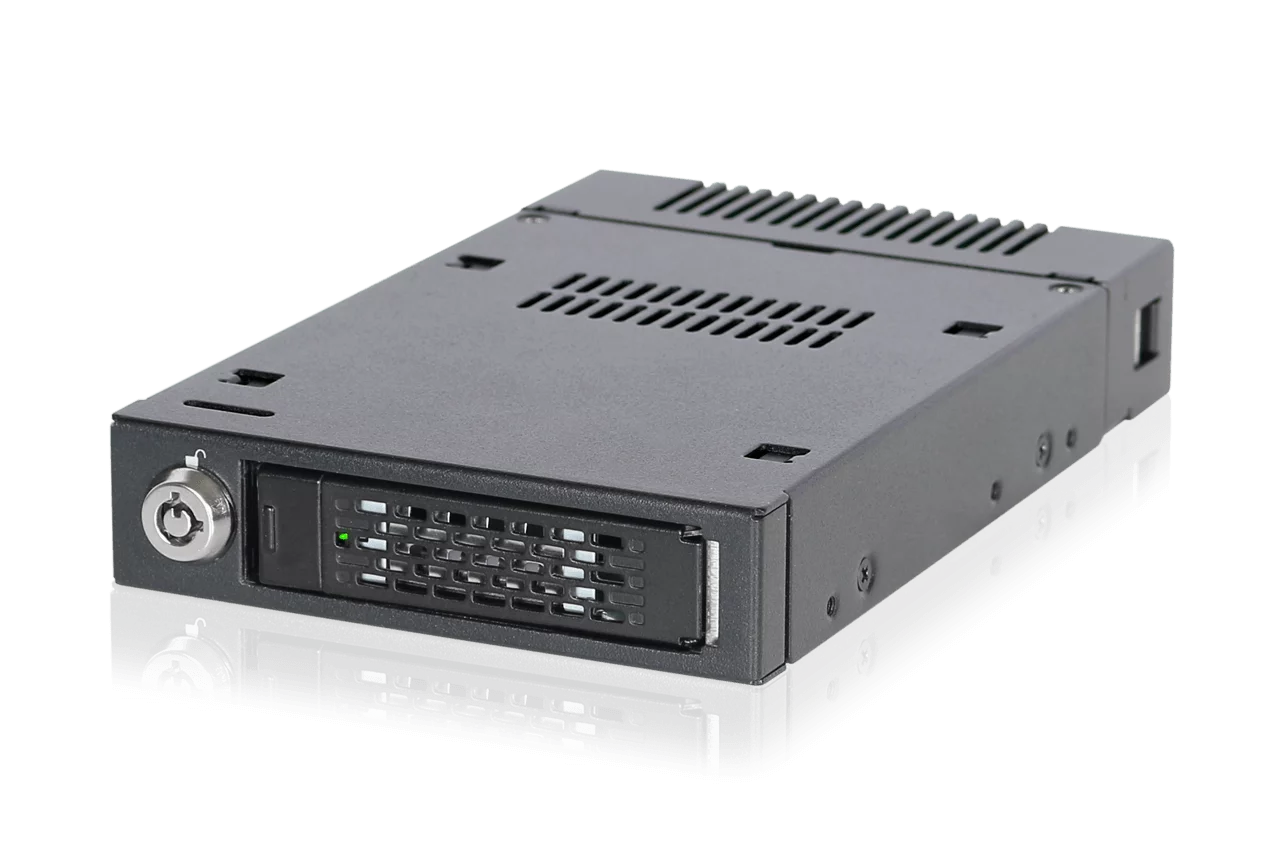
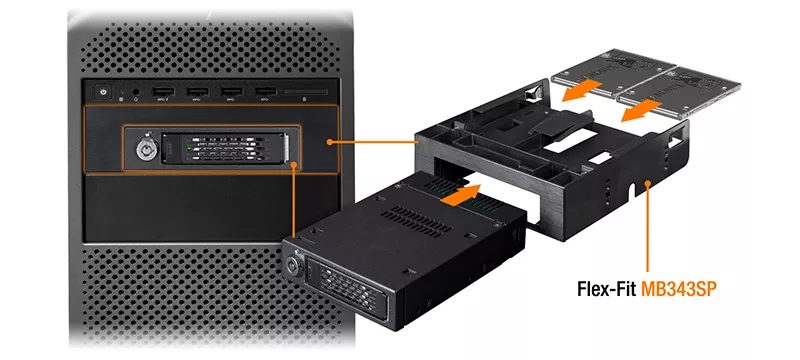
| • | Installs into any standard external 3.5” device bay or floppy bay |
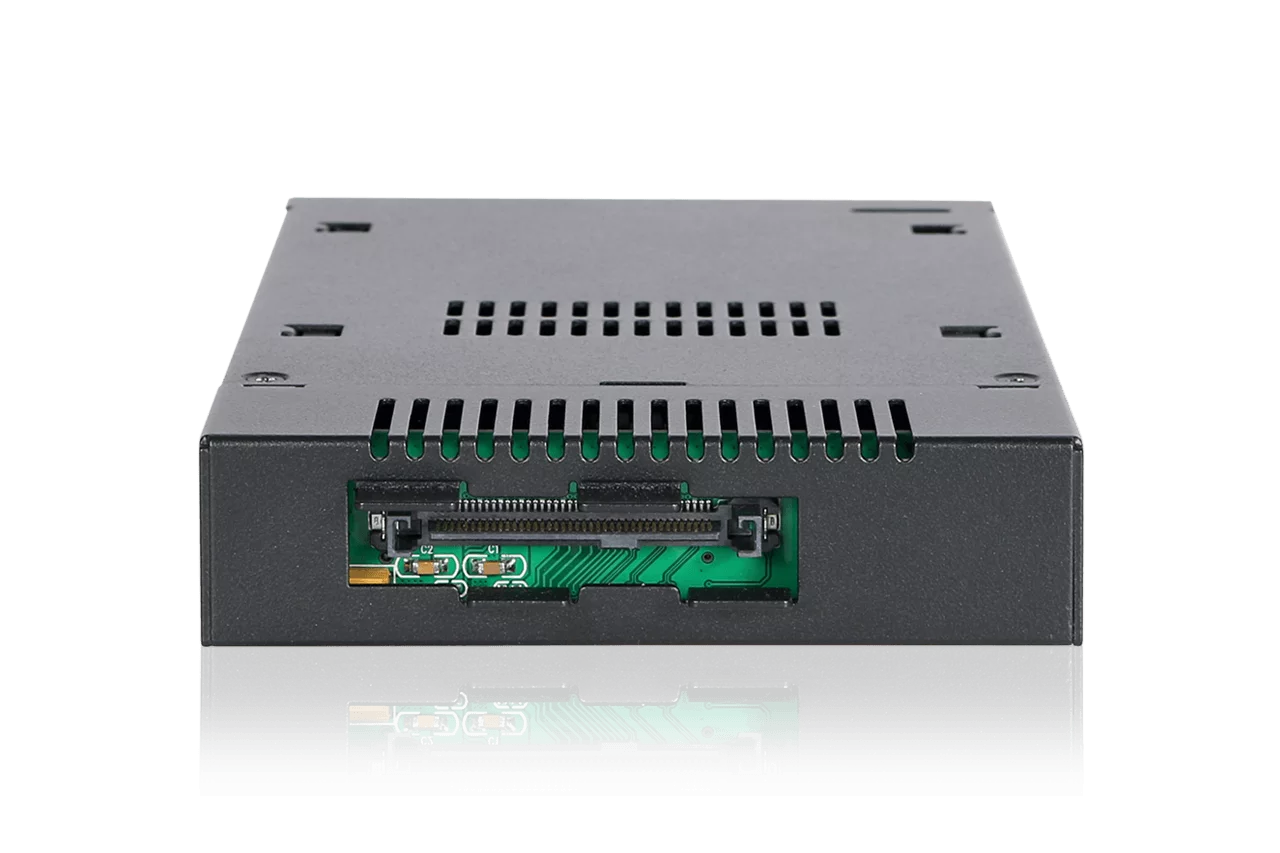
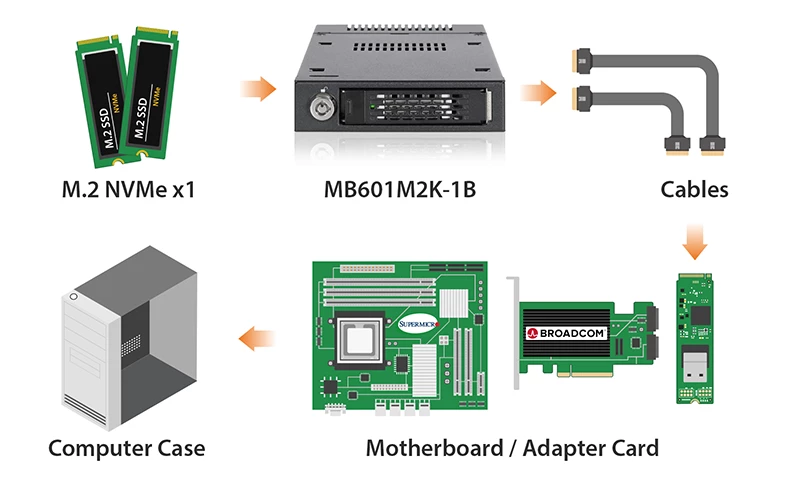
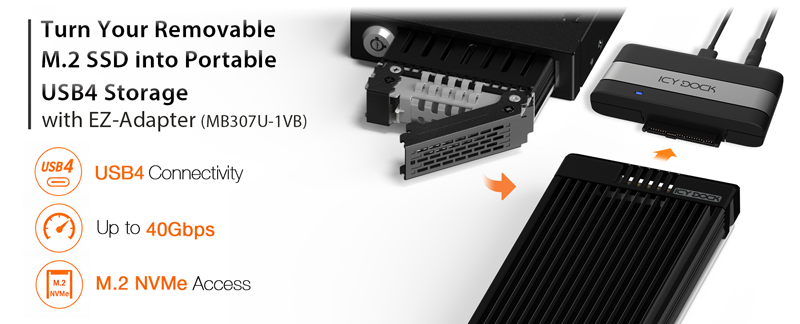
| • | Uses a U.2 port (SFF-8639) to connect, requires NVMe host |
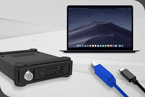
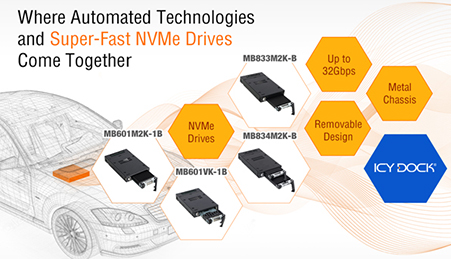
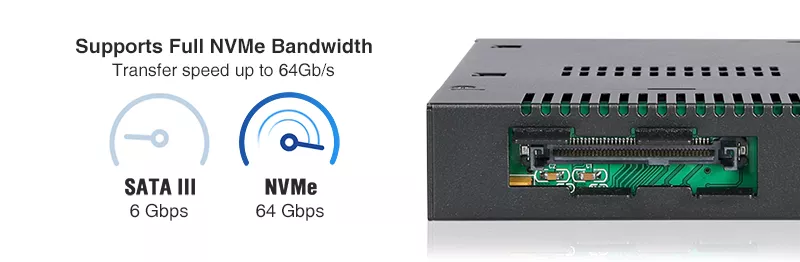
| • | Supports the full NVMe bandwidth specification of 64 Gbps |
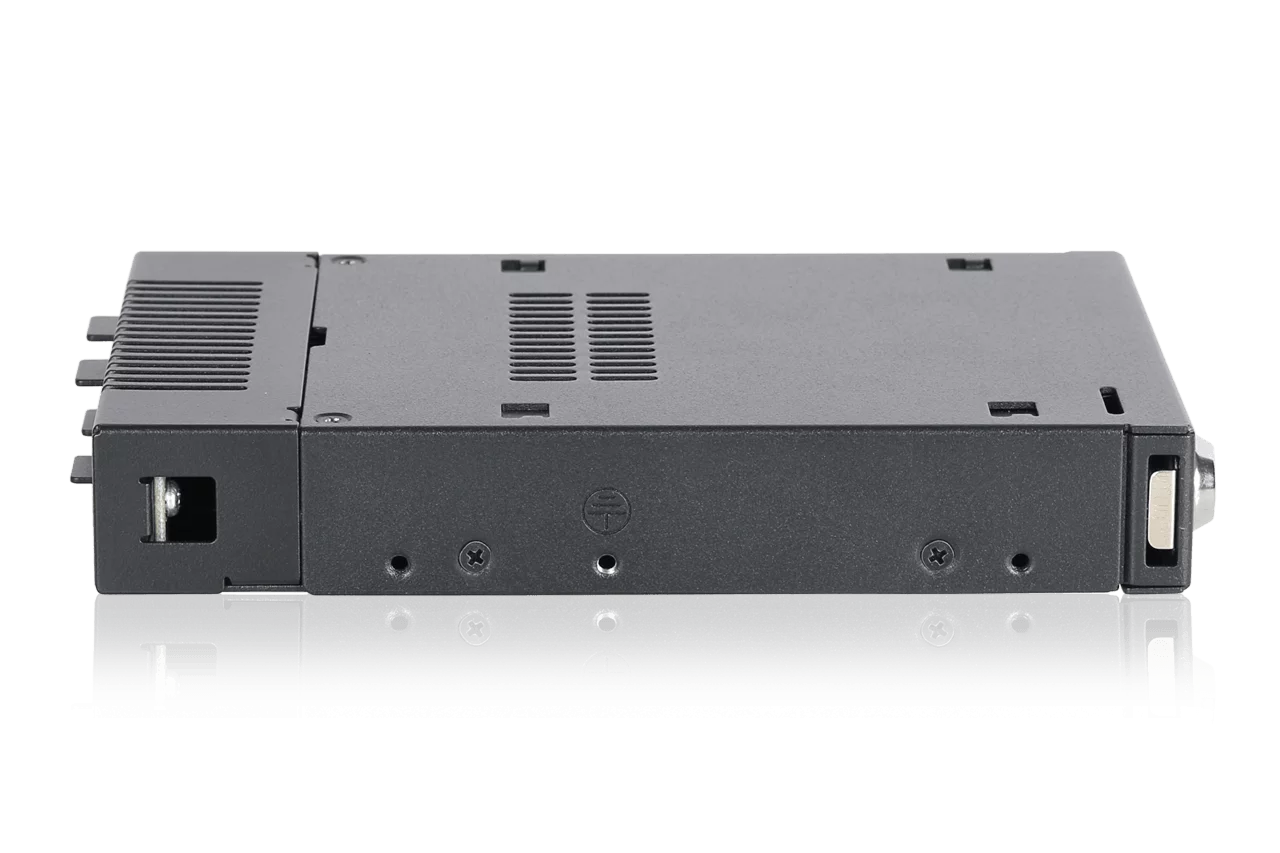
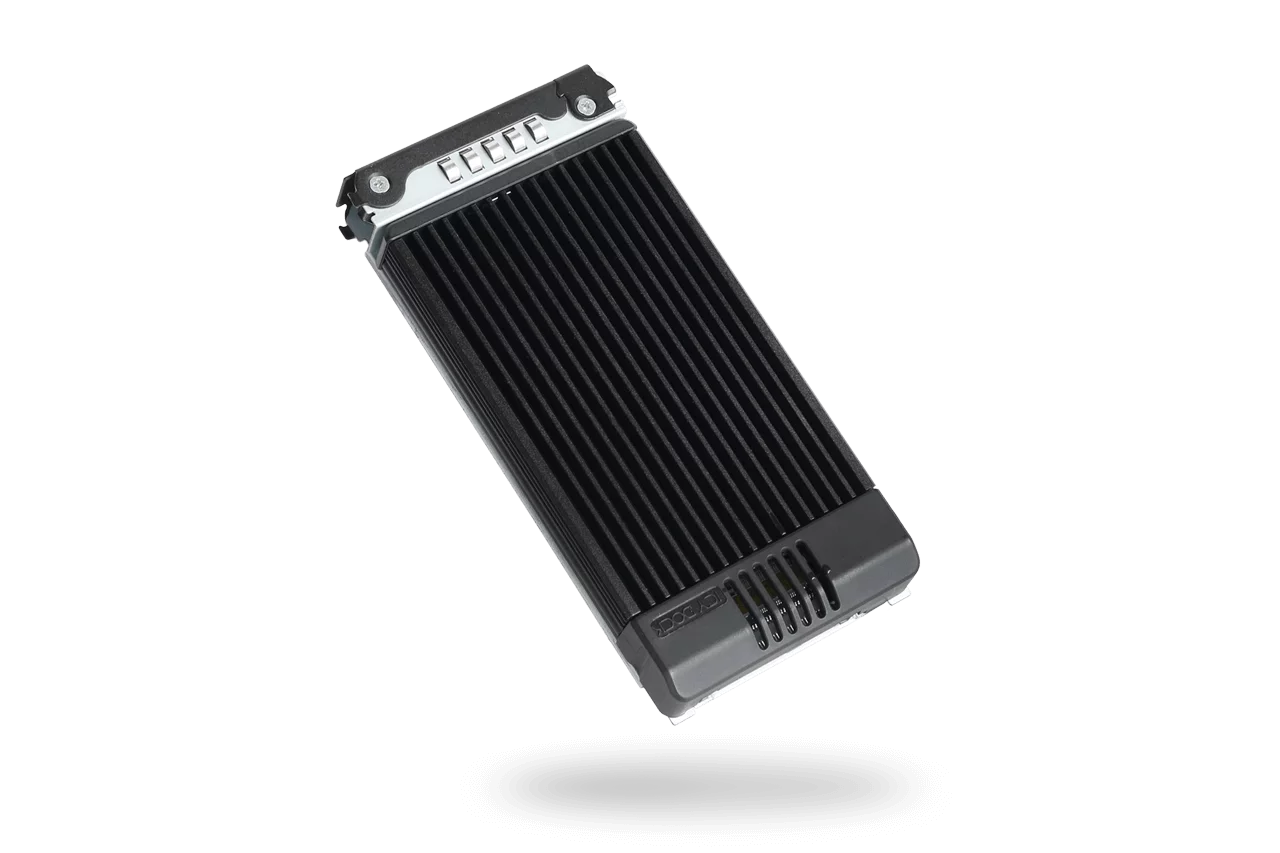
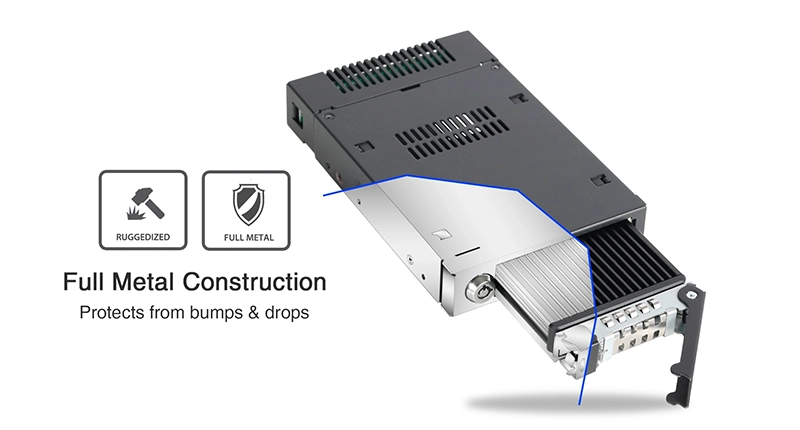
| • | Ruggedized full-metal enclosure meeting flammability requirements |
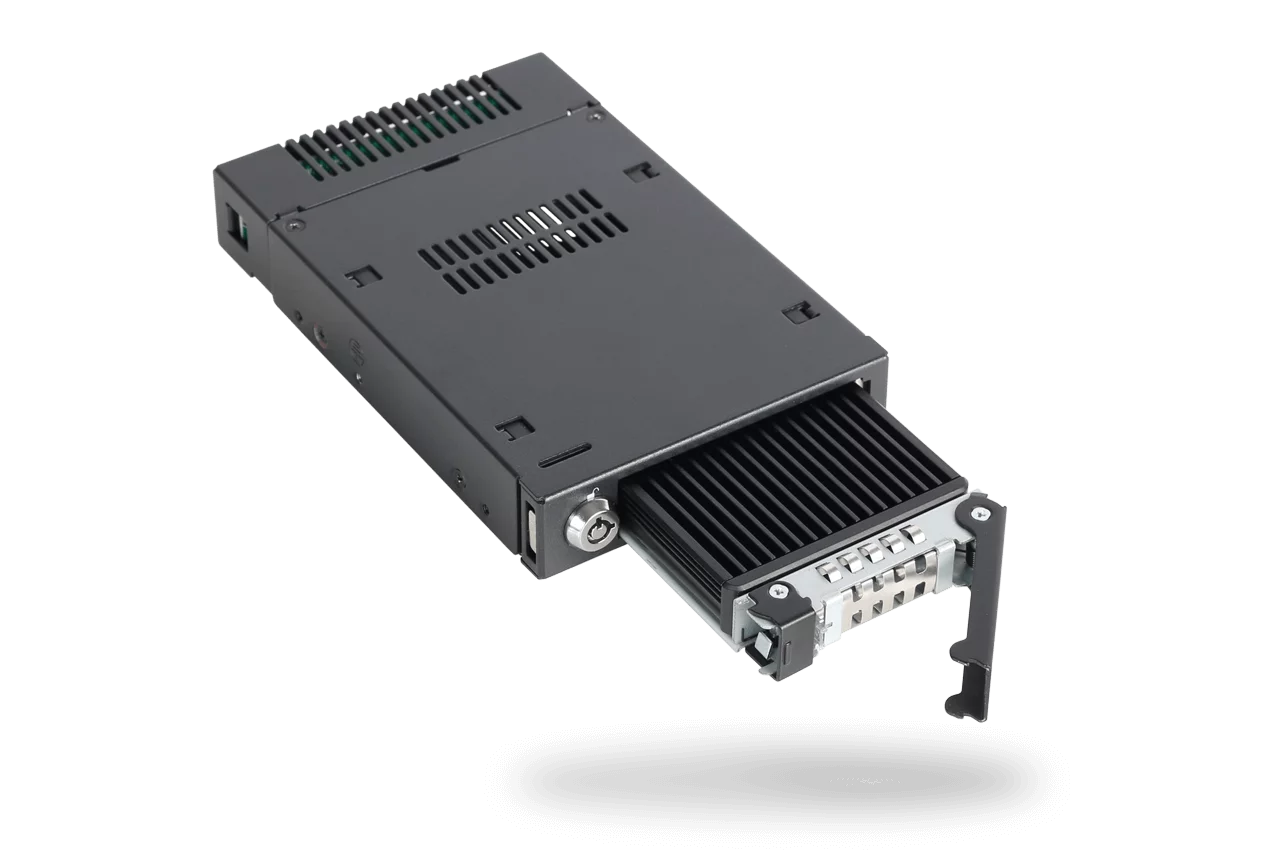
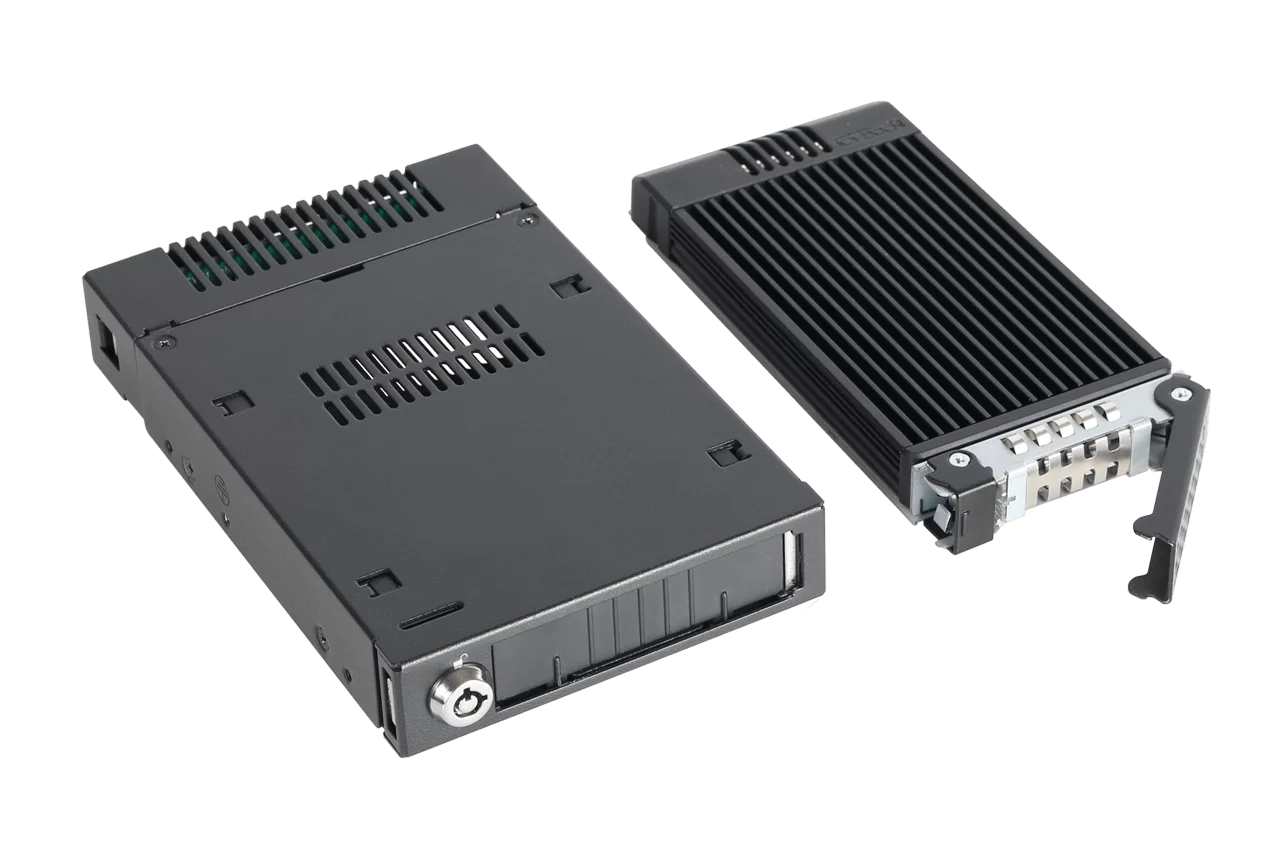
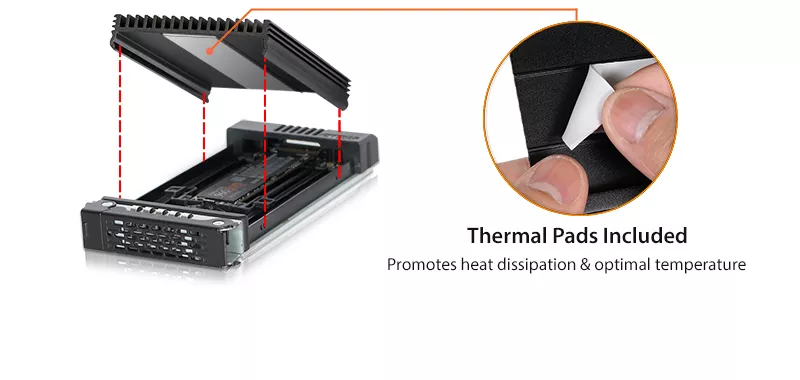
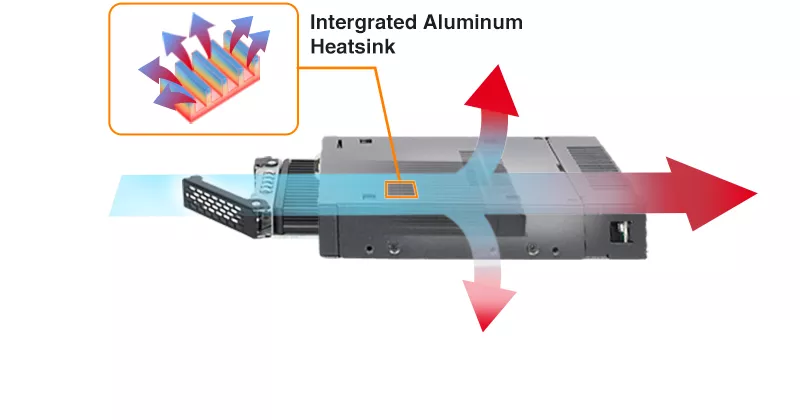
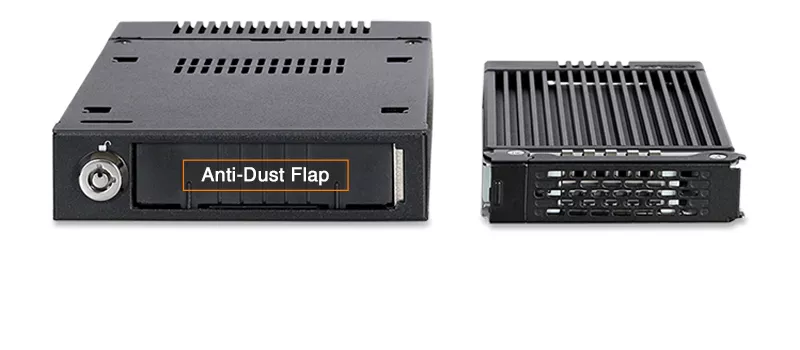
| • | Integrated heat sink and ample ventilation for excellent passive cooling |
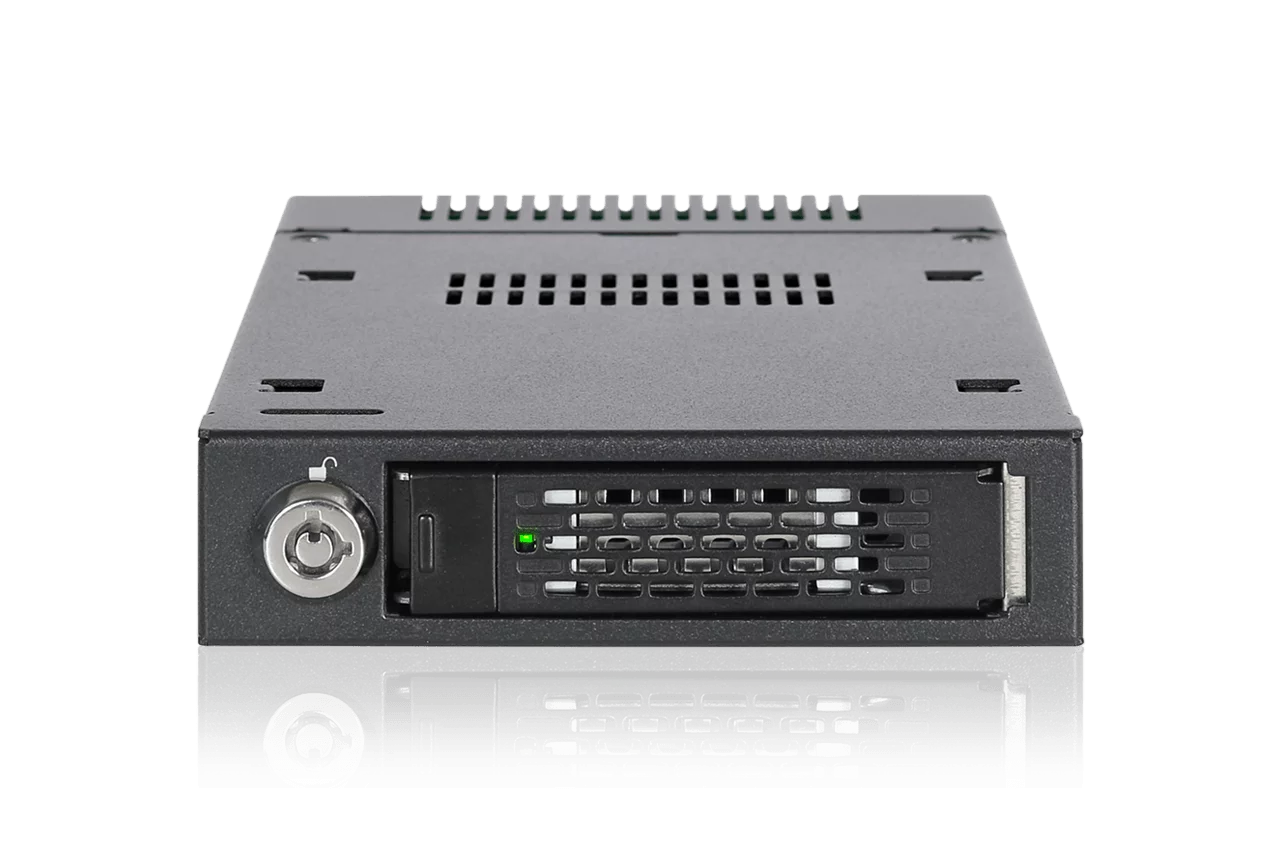
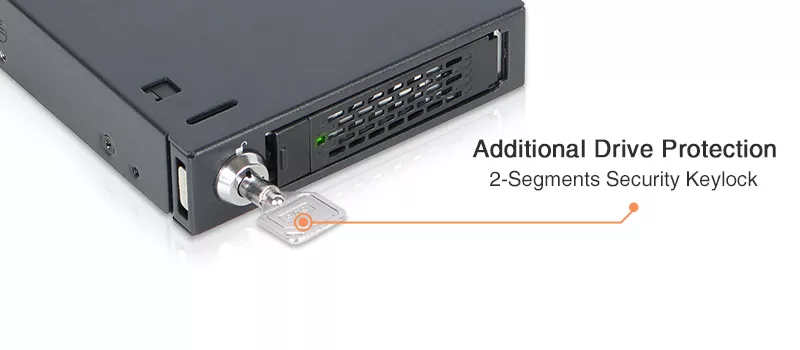
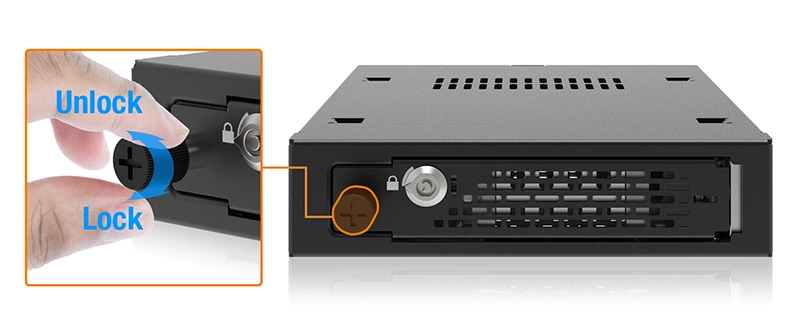
| • | 2-segment key lock for additional physical security |
| • | Eagle-hook tray latch securely holds the tray inside the enclosure |
| • | EMI Grounding – protects SSDs from electrical damage |
| • | Anti-Vibration Technology (AVT) reduces noise and protects against environmental damage |
| • | Active Power Technology (APT) saves power by shutting the device down when no drive is installed. |
| • | Industry-leading 5 years limited warranty against all defects |
| • | Complimentary support from professionally trained US-based technical support agents |
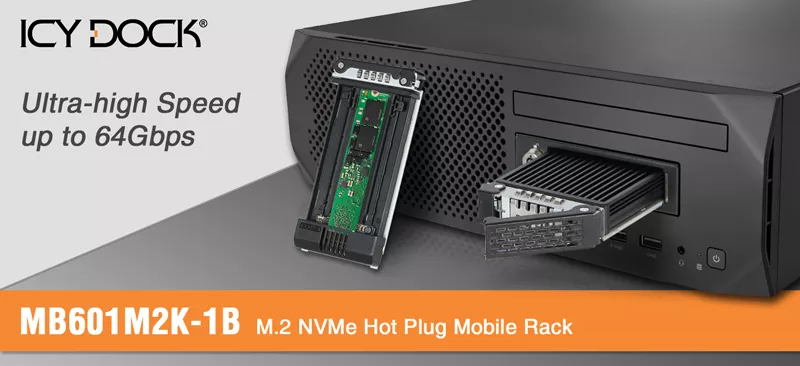
| Model Number: | MB601M2K-1B |
| Color: | Black |
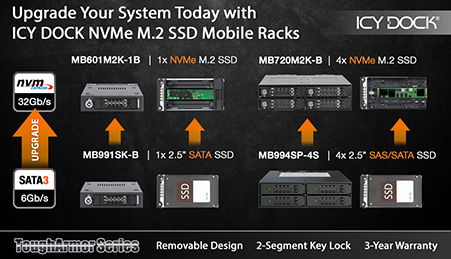
| Support Drive Size: | 1 x M / B + M key M.2 PCIe NVMe SSD 2230/2242/2260/2280/22110 |
| Compatible Drive Type: | M.2 PCIe 3.0/4.0 NVMe SSD |
| Number of Drives: | 1 |
| Drive Bay: | 1 x external 3.5" drive bay |
| Host Interface: | 1 x U.2 SFF-8639, pin-out defined by SFF-9402 Rev 1.1 (Tri-mode HBA/RAID card compatible) |
| Power Input: | Via U.2 (SFF-8639) |
| Transfer Rate: | Up to 64Gbps |
| Support HDD Capacity: | No limitation |
| Drive Cooling: | Metal heat dispersion with passive cooling |
| Structure / Material: | Full metal |
| Drive Security: | 2 segment key lock |
| Product Dimension (L x W x H): | 168.7 x 101.2 x 25.4mm |
| Product Net Weight: | 546g |
| Package Gross Weight: | 618g |
| Drive Activity LED Indication: | Drive power: solid green; HDD access: flashing green |
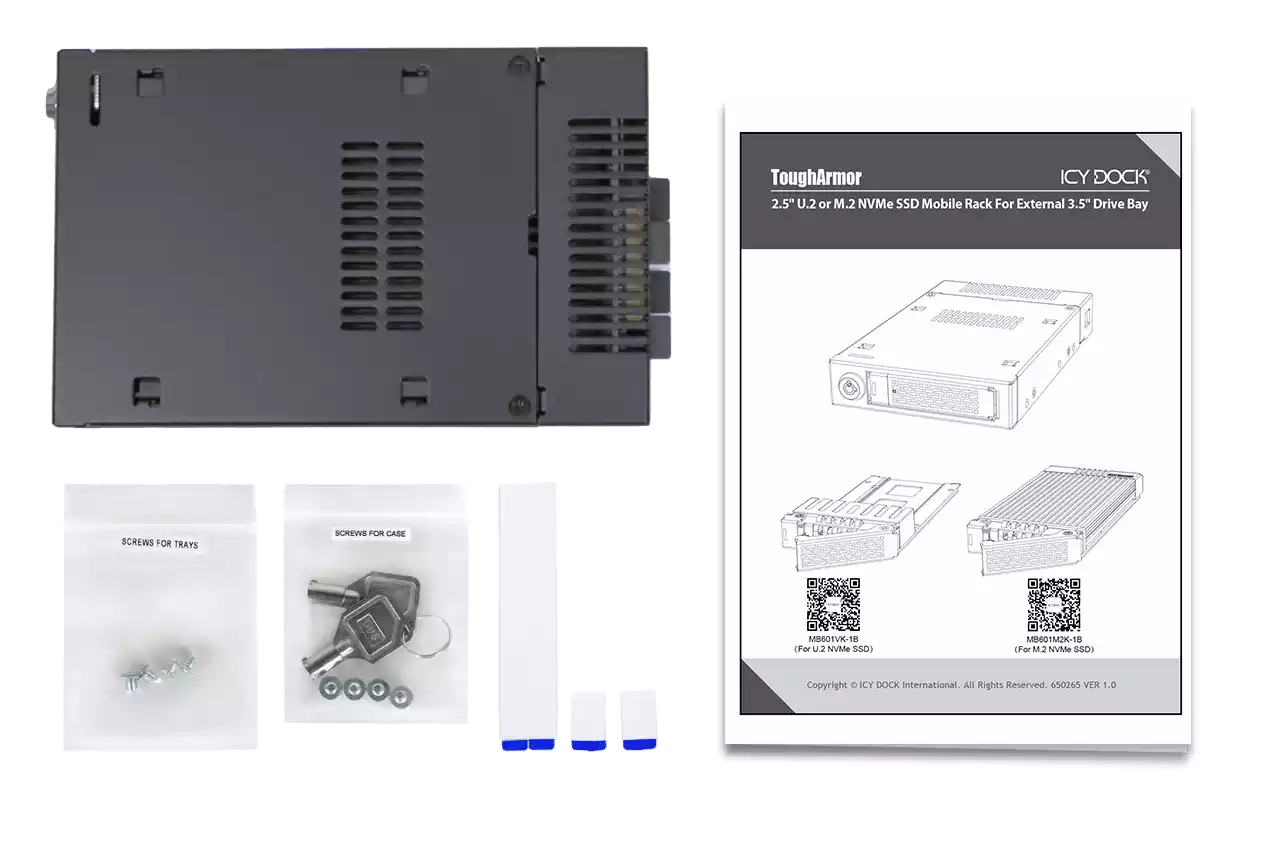
| Package Contents: | 1 - device, 1 - user manual, 10 - screw, 2 - key |
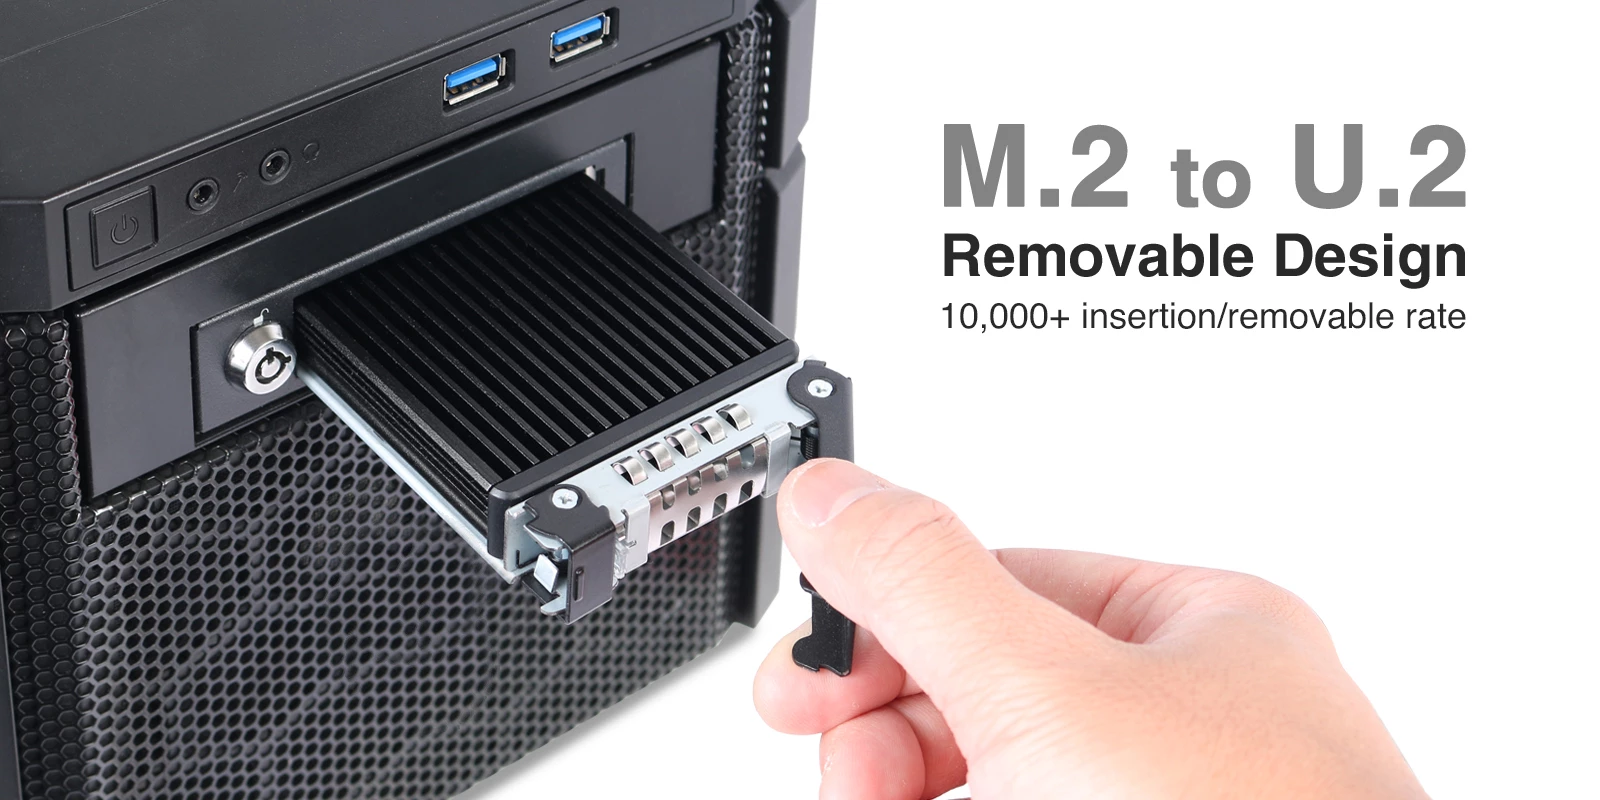
| M.2 Connector Insertion Rate: | 5,000 |
| Humidity: | 5%~65% RH |
| Operating Temperature: | 0°C to 60°C (32°F to 140°F) |
| Storage Temperature: | -35°C to 70°C (-31°F to 158°F) |
| Compliance: | CE, RoHS, REACH |
| Warranty: | 5 years limited warranty |
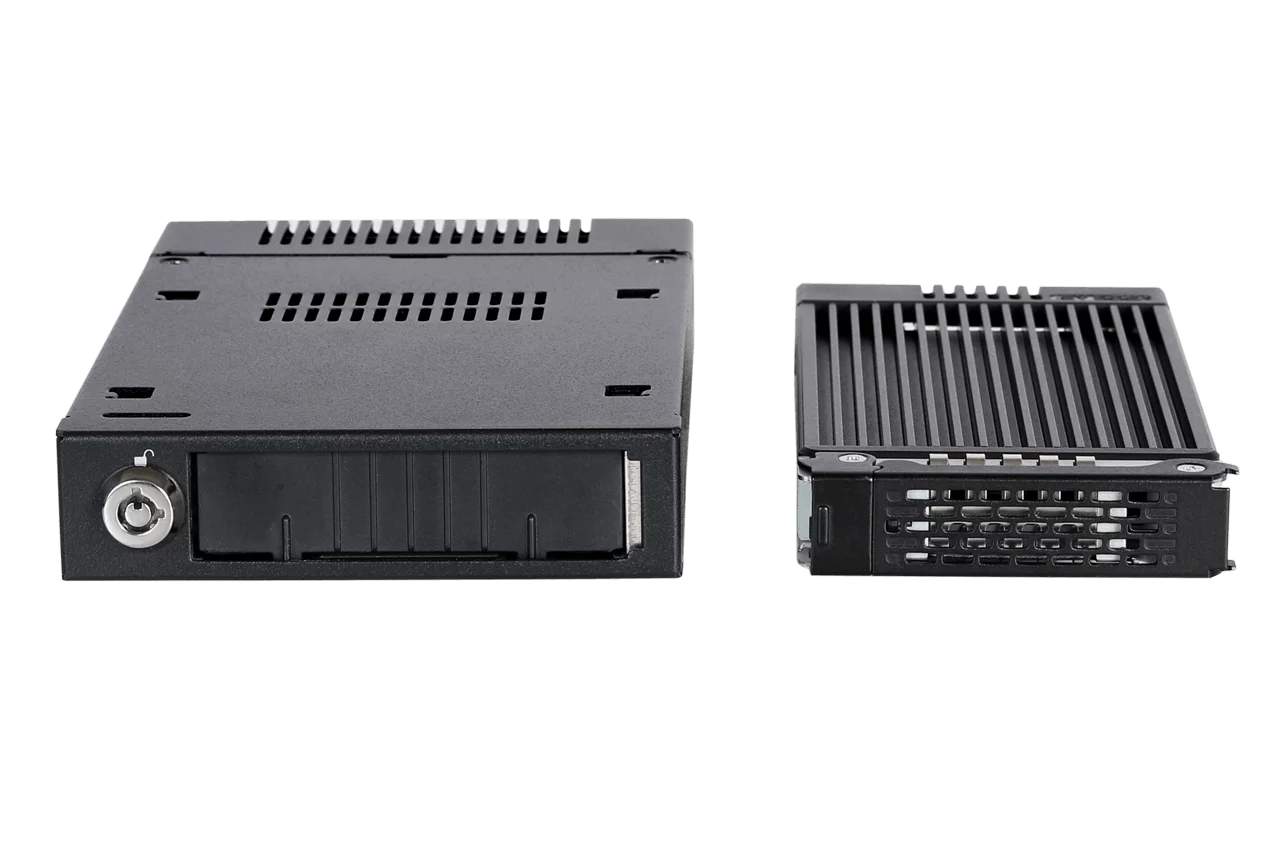
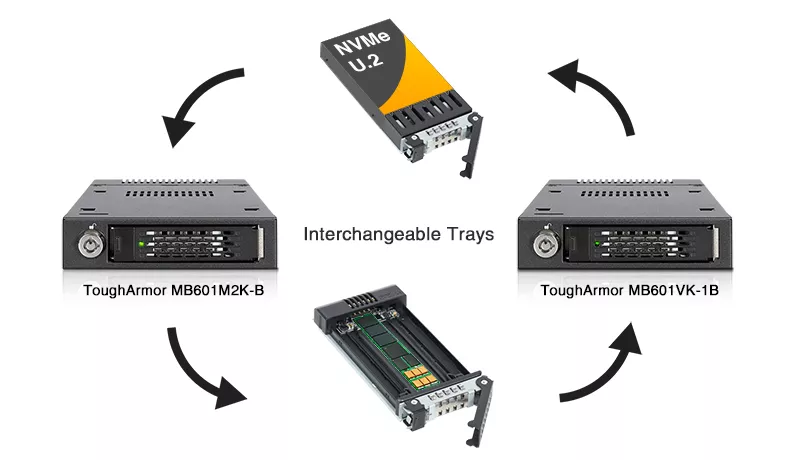
Compatible Drive Tray (Caddy):
Related Products:
Related Products Series:
ToughArmor Lineup:
Quick Link:
Q: I'm connecting my Oculink or SlimSAS NVMe PCIe HBA/RAID card to the MB601M2K-1B via miniSAS HD (SFF-8643) interface, but the U.2 drives did not show up in my system.
A: The MB601M2K-1B are not compatible with the Oculink or SlimSAS PCIe HBA/RAID cards due to different connector pin assignments used on the device. Please check the compatibility list in the FAQ section for HBA/RAID cards that are compatible with MB601M2K-1B.
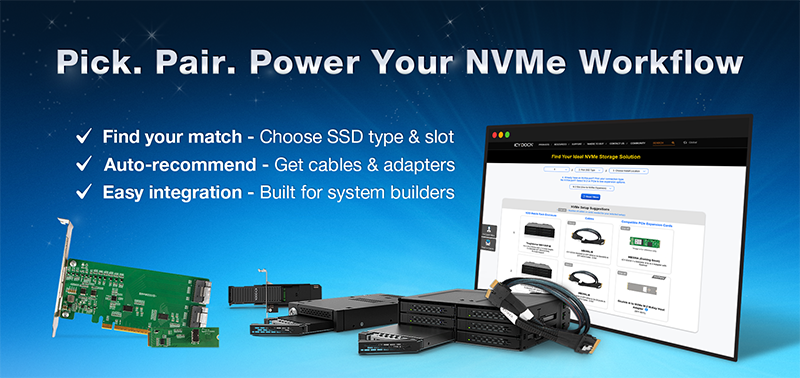
Q: Can you recommend an add-on card that is compatible with MB601M2K-1B?
A: To ensure compatibility with MB601M2K-1B, please make sure that your add-on card or motherboard’s BIOS/UEFI supports PCIe Bifurcation when using a PCIe 16x or 8x slot. Additionally, set up the PCIe splitter in the BIOS/UEFI with the configuration of x4, x4, x4, x4 for a PCIe 16x slot or x4, x4 for a PCIe 8x slot.
Please click the icon below to view the compatibility of your motherboards or add-on cards that support PCIe Bifurcation mode. For the best compatibility, we highly recommend using the cables recommended or manufactured by the motherboard or add-on card manufacturer.
We are currently in the process of certifying our NVMe enclosure with major add-on card and motherboard manufacturers. We will keep updating the list to include compatible accessories.
To report a compatible add-on card, cable, or motherboard, or to check the compatibility of add-on card(s) or motherboards that are not listed, please click here.
Q: I've completed the installation of the hard drive and device as per the instructions in the product manual, but the system still can't detect the drive. How can I troubleshoot this issue?
A: Please first confirm the compatibility of your hardware, and make sure that the drive, drive enclosure, cable, and host interfaces are compatible. Try connecting the drive directly to the host to see if the system can detect the drive. If it still doesn't detect it, this can rule out issues with the drive enclosure. You can also try connecting the drive enclosure with different drives, cables, or systems to see if the issue can be resolved. If the system still can't detect it, here are some possible issues:
| • | Insufficient PCIe lanes in the system: Whether you're connecting the drive enclosure to the motherboard or add-on card, It is important to note that the number of available PCIe lanes is limited. This includes understanding the number of lanes provided by the CPU and chipset, as well as their allocation method. Failure to do so may result slower transfer speeds, unstable connections, or even the inability to detect the drive. |
| • | Incompatible interface protocols: It is crucial to verify whether the Mini-SAS HD, OCuLink, or SlimSAS interface on the motherboard or add-on card is capable of supporting NVMe. |
| • | Incompatible interface pinout standard: Prior to connecting the drive enclosure to the Mini-SAS HD, OCuLink, or SlimSAS port on the motherboard or add-on card, please verify that the port utilizes the same pinout standard as the port on our drive enclosure. To check the pinout standard of our drive enclosure, you can refer to the specification table on our product page, where it specifies whether the pinout standard is Legacy or SFF-9402 1.1. |
| • | Excessive length of the connecting cable: To ensure optimal performance, it is advised to use a connecting cable that is no longer than 50cm. Using longer cables can lead to excessive signal loss, resulting in slower transfer speeds, unstable connections, or even the inability to detect the drive. Additionally, we recommend using the same interface connector for both the device and the host to prevent any potential compatibility issues. |
Q: I'm using Intel/Broadcom Tri-Mode HBA and RAID cards with the MB601M2K-1B, but the drives do not show up in my system?
A: The issue is caused by RAID card manufacturers using a different pinout for Tri-Mode cards than is typically used for U.2 connections. When using these cards with U.2 NVMe drives and cables, a U.2 enabler cable must be used for compatibility, which reverts the pinout back to standard U.2 specifications. For more information, please click here.
Q: The system does not detect the M.2 SSD I installed in the ICY DOCK enclosure. What should I do?
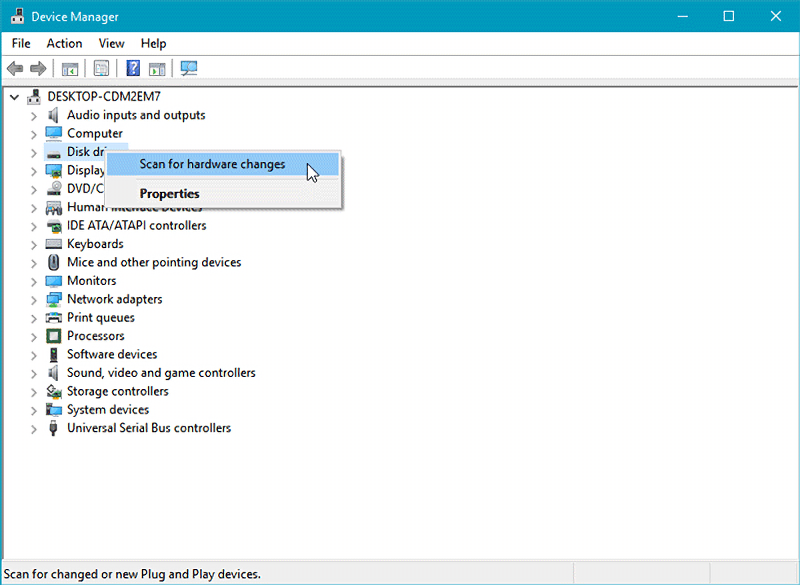
A: Since the M.2 SSD is not designed for hot-swapping, we highly recommend powering off the device/system before inserting or removing an M.2 SSD. If the system is still unable to detect the drive, follow the steps below to scan for new hardware manually:
Windows 11 / Windows 10 / Windows 8 – In the search box on the taskbar, type device manager, and click it from the menu. Once the device manager window pops up, right-click on the disk drive icon, and click scan for hardware changes.
Windows 7 – Right-click on the computer icon on the desktop, select properties, click device manager, right-click on the disk drive icon and then click scan for hardware changes.
Q: Is the ICY DOCK NVMe enclosure supporting the PCIe 4.0 standard?
A: Yes, all ICY DOCK NVMe enclosures support the PCIe 4.0x4 standard, with up to 64Gbps transfer rates.
Q: I'm having the difficulties closing the lid of the drive tray and unable to insert the drive tray all the way to the drive enclosure after placing the M.2 SSD onto the drive tray.
A: Make sure to lock the M.2 SSD with the adjustable M.2 locker. The tray lid will not close properly if the M.2 locker is not fully secured. If you are having difficulty secure the M.2 locker or close the cover, the M.2 SSD you are using may not follow the standard M.2 SSD thickness, which is less than 1.5mm height for each side with a total height that does not exceed 3.8mm. Using the M.2 SSD with non-standard thickness will cause improper tension on the M.2 locker and tray lid and make the M.2 connector misaligned. If you are having issues inserting the drive tray to the enclosure, please stop the operation immediately and check the drive thickness to ensure it follows the standard M.2 SSD thickness - less than 1.5mm height for each side and less than 3.8mm for total height.
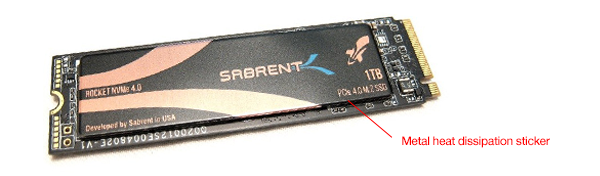
Note: Some M.2 SSD uses a metal heat dissipation sticker that causes each side's thickness more than the 1.5mm. Remove the sticker will solve the problem, but do it at your own risk (might void the warranty of SSD)
ICY DOCK enclosure is design to be compatible with M.2 SSD that has standard thickness. We highly recommend checking the drive thickness before purchase, and please refer to the incompatible M.2 SSD list below for further information:
M.2 NVMe SSDs known to be incompatible with ICY DOCK enclosure:
Please contact tech@icydock.com if the problem persists so we can resolve the issue as soon as possible.
Click here to report a compatible/incompatible M.2 SSD.
Q: I feel that the drive tray's upper and lower metal spring is stuck when inserting the drive tray. What should I do?
A: Remove the drive tray from the enclosure and reinsert the tray without putting excessive pressure on the metal mesh sheet in front of the tray. Excessive force on the front metal mesh sheet may bend the top and bottom metal spring, causing difficulties when inserting the drive tray. Therefore, please do not forcingly insert the drive tray when this happens as it may cause damage to the metal spring.
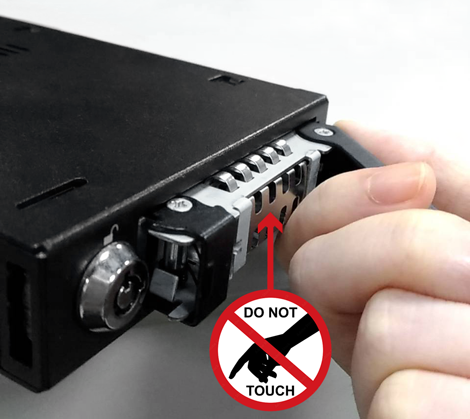 |
| Please DO NOT put excessive pressure on the metal mesh sheet as shown |
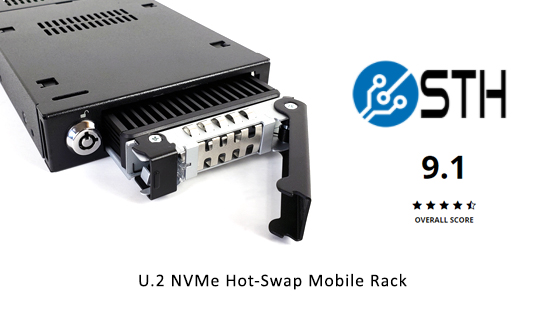
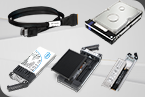
By ServetheHome
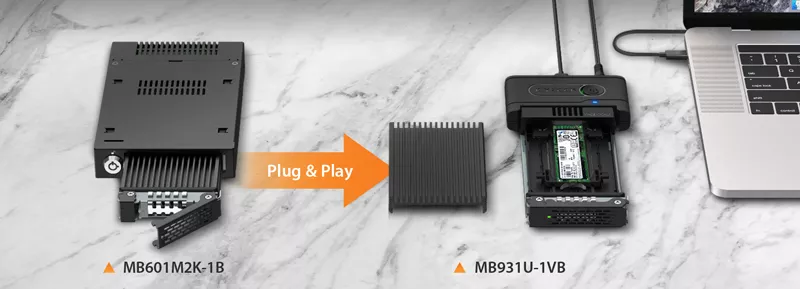
"Once SSDs are installed, using the ToughArmor MB601M2K-1B is simple. You can eject the drive tray, install your U.2 NVMe drive of choice (or M.2 to U.2 adapter), plug back in and start using."